Did you know that connecting your laptop or PC to a portable monitor could make you 42% more productive?
That’s according to a 15-year study into dual-screen use. But how do you connect your tech to a second screen? What do you need to look out for? and do you even need one?
In this blog, we’ll answer all those questions. But let’s begin by covering what a portable monitor is - as opposed to a standard PC screen.
What Is A Portable Monitor?

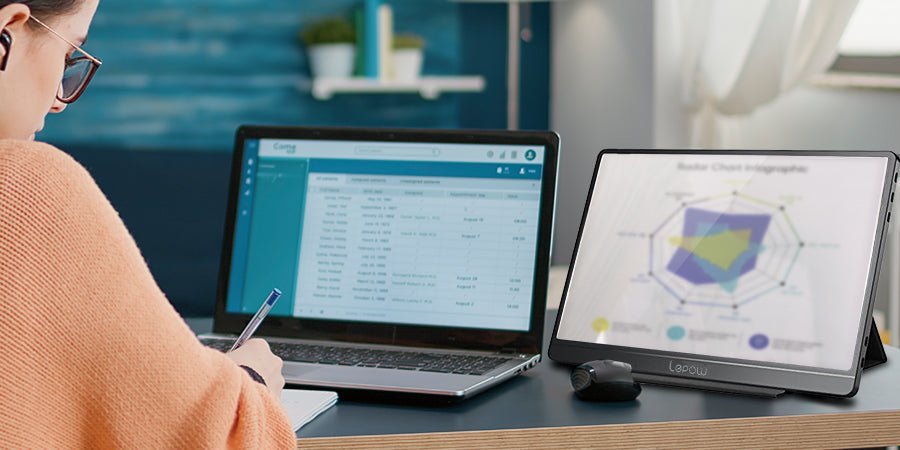
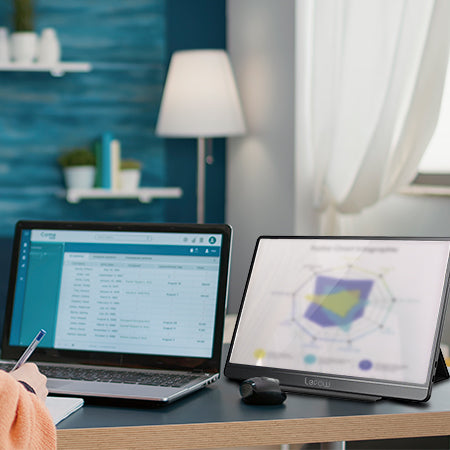
A portable monitor is a high-definition screen you can plug into your PC to improve your screen clarity and productivity.
The main difference between a portable monitor and a standard screen is its moveable functionality. A power cable tethers most PC screens. However, with a portable option, your screen takes its power from your PC.
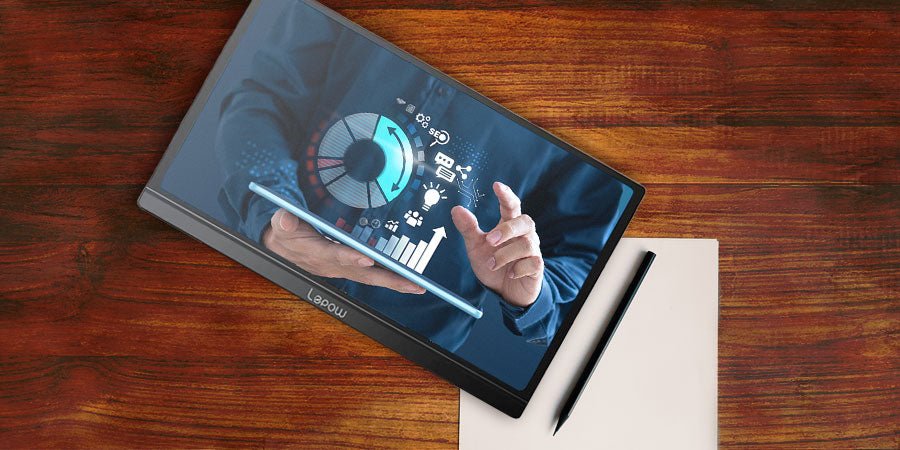
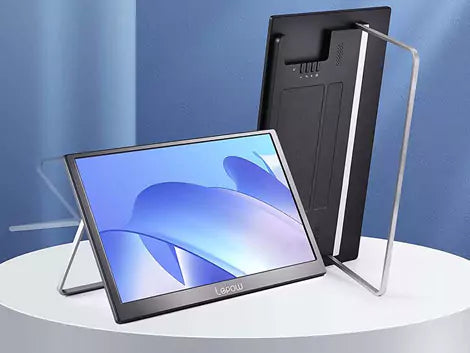
In addition, portable monitors are sleeker than standard laptops. They come with a flip-out stand, and some even feature touchscreen functionality.
This lightweight structure means you can carry it around in your laptop bag all day without breaking your back. And it’s easy to whip out and get to work on the train or in a cafe.
How To Connect A Laptop Or PC To A Portable Monitor
Connecting your laptop to a second monitor can unlock your productivity potential. But the connection process couldn’t be simpler.
Steps For Connecting a Windows Product
- Connect your portable monitor to an available port on your PC - we’ll talk more about ports soon.
- Your laptop will recognize the connection, so right-click and select “Display Settings” or “Screen Resolution.”
- Select which screen will be your primary and which will be your secondary - the display on-screen should show you which is which. Most people use their laptop as the primary screen.
- Match your display setup to your real-life setup, e.g., if your second screen is on the right of your laptop, then position it there on the screen
- Then find the “Multiple Displays” options and then select “Extend These Displays” - this will prevent your screens from simply mirroring each other and allow for each cursor movement between the two.
- Ensure you have completed the last step on both screens, not just one
Steps For Connecting a Mac Product
Before connecting your Mac to an external monitor, it’s worth checking that your Mac is compatible with the screen you want. Not all Macbooks are compatible with all portable monitors and vice versa.
First, we’ll need to find out which monitors your Mac can use. To do this, you need to:
- Select the Apple logo in the top-left corner of your menu bar
- Click “About This Mac”
- Choose the “Support” tab, then “Specifications.”
- Navigate the new window that has opened to find the section labeled “Video Support or Graphics” - this should tell you what screen your system supports.
But you can get adapters for your Mac to help smooth this process and create a connection. For now, though, let’s assume everything’s fine and get you connected.
- Plug your external display into the power and your Mac - your Mac may not show up on your external monitor until you’ve logged in.
- Open System Settings/System Preferences and Access Displays
- Then find the “Arrangement” tab
- In the Arrangements tab, you’ll see a box in the bottom-left corner saying “Mirror Screens” ensure that it is unchecked.
- Next, your can drag your secondary display to match your real-life setup - your Mac will always be displayed as the “Main” monitor, which will be the blue box on the left with the white tab at the top.
It’s worth mentioning that you can also change which display is your primary one by going back into that Arrangement tab. Click and hold the white tab above the primary display box.
You should then be able to move this onto the other screen.
What Is The Best Way to Connect Your Laptop To A Portable Monitor?
Setting up your new portable monitor can be a reasonably simple task. But you should always check your connection ports before going ahead.
Most laptops contain one or any combination of the below ports:

- USB 3.0 Cable
- USB-C or Thunderbolt 3
- HDMI, Mini HDMI, or DisplayPort
USB 3.0
This is the most common way to power a portable monitor through your laptop is via a USB cable. However, if you have an older laptop, you may need to plug your USB cable into the mains for power.
If that’s the case then you will also need to get a display or HDMI cable to connect the two devices.
USB-C or Thunderbolt 3
If you’re on the go and need to connect your external screen on the move, this is the best way, as it only requires one cable. It’s also the best way to connect your smartphone to a portable monitor.
HDMI, Mini HDMI, or DisplayPort
Many laptops will have one of these ports. However, if you are connecting via HDMI or DisplayPort, it’s important to remember that these won’t power your screen too. So you will need to purchase a USB cable too.
Why Do You Need a Dual Screen Laptop?
Adding another display to your setup can have many benefits to your work and entertainment levels.
Crushing Multiple Tasks
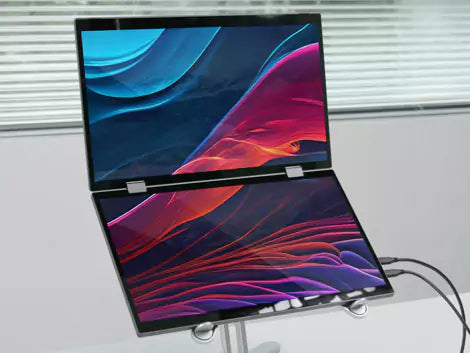
One of the best things about adding a second screen to your laptop is the ability to work side-by-side. Completing data entry tasks or writing content is a breeze with the ability to show spreadsheets or other material on one screen and data formats on the other.
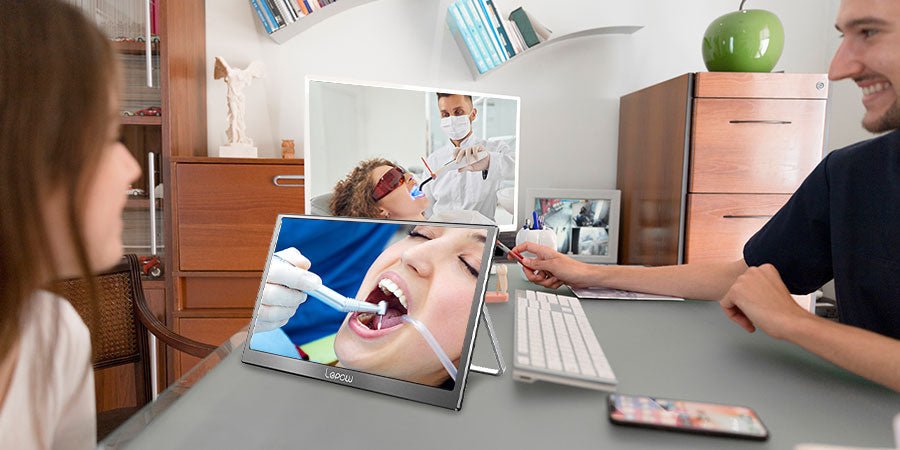
Breezing Through Video Presentations
A portable monitor can also help up-weight your presentation game. The added display allows you to keep tabs on what you're presenting while also addressing the meeting members.
Turn Your Commute Into a Cinematic Experience
An additional HDMI screen is also perfect for getting some serious movie viewing done. This is ideal if your portable screen is larger and has a higher resolution than your standard laptop.
Level Up Your Gaming
If you’re a serious gamer aiming to take your e-sports to the next level, then an HDMI portable monitor can help.
For the best portable monitor for gaming, it's worth finding one that offers 240Hz refresh speed, HDR support, IPS image quality, low response times, and adaptive sync.
Final Thoughts
Connecting your laptop to a portable monitor is not as complicated as it sounds. It could also be a super productive addition to your desk or gaming and entertainment setup.
All you need to do now is select the perfect portable monitor for your needs. Check out Lepow’s vast selection of screens today to get your setup singing.